So, let me tell you about the very first time I made this beet hummus. I literally just tossed the ingredients into my blender, and after a whirl, I was pleasantly surprised by how pretty it turned out. The color? Wow! It looked like a sunset in a bowl! It was rich and creamy, yet had that earthy beet flavor that I absolutely love. I did have to make a few tweaks for taste—I added a tad more garlic because I like a little kick, and a splash more lemon juice to really brighten it up. It was a total win!
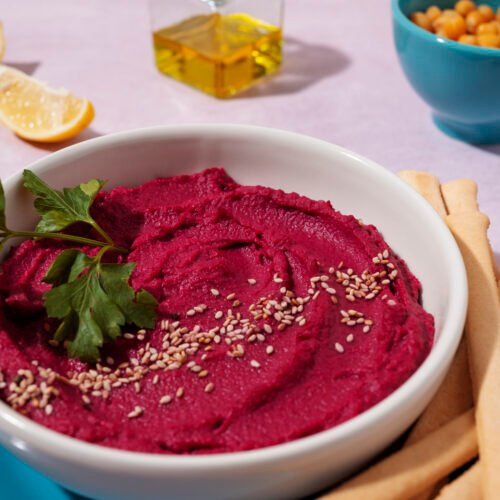
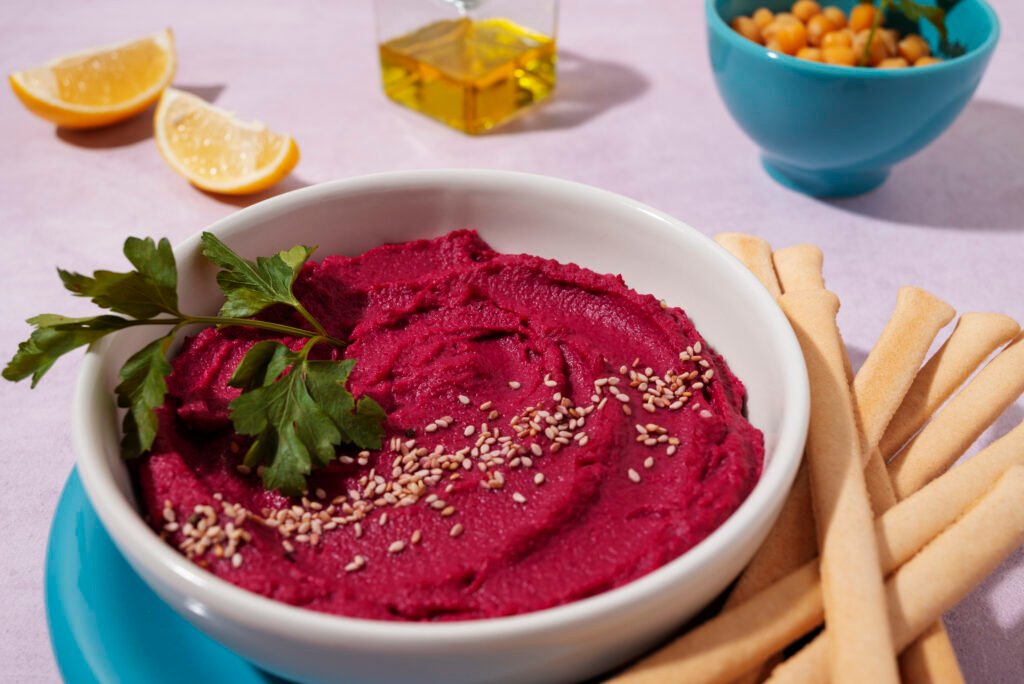
Beet Hummus
Ingredients
- 1 medium beet about 8 oz, boiled and chopped. (You can use canned beets too if you’re in a hurry!)
- 1 can 15 oz chickpeas, drained and rinsed
- 2-3 tablespoons tahini adds creaminess!
- 2 tablespoons olive oil
- 2 tablespoons lemon juice fresh is best!
- 1-2 cloves garlic adjust based on how garlicky you want it!
- Salt to taste
- Paprika and sesame seeds for serving totally optional but look nice
Instructions
- Prep the Beet: If you’re using a raw beet, peel it, chop it up, and boil it until fork-tender (about 30 minutes). If you’re using canned beets, just drain and rinse them. Easy peasy!
- Blend, Blend, Blend: Once your beets are ready, toss them into a blender or food processor. Add the chickpeas, tahini, olive oil, lemon juice, and garlic.
- Season to Taste: Start blending! You’ll want to blend until it’s super smooth. If it’s a bit thick, add a splash of water to help it along. Once it’s blended to your liking, give it a taste and add salt or more lemon juice if needed.
- Serve It Up: Scoop your beet hummus into a bowl. Drizzle a little olive oil on top, and sprinkle with paprika and sesame seeds for that wow factor!
Nutritional Facts
| Calories | Fat | Carbs | Protein | Fiber |
|---|---|---|---|---|
| 150 | 6g | 20g | 6g | 4g |
5 Tips for This Recipe
- Don’t skip the lemon juice—it brightens everything up!
- Use fresh garlic for the best flavor instead of powdered garlic.
- Experiment with herbs! Adding fresh parsley or cilantro can give it a different twist.
- Adjust the garlic and tahini to suit your taste. Make it yours!
- For a little heat, throw in some cayenne or red pepper flakes.
5 FAQs for This Recipe
- Can I make this in advance? Absolutely! It lasts about a week in the fridge.
- What do I serve this with? Pita chips, veggie sticks, or even on sandwiches!
- Can I freeze beet hummus? Yes, just make sure it’s in an airtight container!
- Will it stain my blender? It might, but a quick wash with soap and water should do the trick!
- Can I adjust the texture? If you want a creamier texture, just add more olive oil or tahini!
5 Storage Tips
- Keep it in an airtight container to keep it fresh.
- Store in the fridge for up to a week.
- If freezing, use ice cube trays for portion control.
- Label your container with the date you made it!
- Before serving leftovers, give it a good stir to mix it up.
5 Common Cooking Mistakes
- Not boiling the beet long enough—it should be fork-tender!
- Over-blending can make it pasty instead of smooth.
- Missing the salt or lemon juice can make it taste bland.
- Using old or dried-out chickpeas can affect flavor.
- Not tasting as you go; trust me, it makes a difference!
Final Thoughts
Making beet hummus is not just about creating a tasty dip, but it’s also about having fun in the kitchen. I love how vibrant it looks and how flavors can be tweaked to fit our tastes. From the first blend to the final serve, it’s such an enjoyable experience. Plus, we get to share something healthy and colorful with our friends and family.
Don’t worry if things don’t go perfectly the first time. Cooking is all about experimentation! Just be bold, try new things, and have a blast while doing it. Overall, I hope you love this beet hummus as much as I do. Now, go ahead and whip some up!
And remember, it’s not just about eating; it’s about enjoying every bite and having a great time in the process. Happy cooking, everyone!