Now, let me take you on a little journey of when I first whipped up these fabulous bars. I expected it to be a piece of cake (or, should I say, a piece of banana split?), but I was pleasantly surprised by how well it turned out the first time! I mean, let’s be honest; I was a bit skeptical of how a banana split could really work in bar form. But with a few tweaks here and there—like adding a pinch of cinnamon to the crust for an extra kick and making sure to let the bars cool completely before slicing—it was a home run! The balance of flavors was just right, and I couldn’t resist going back for seconds.
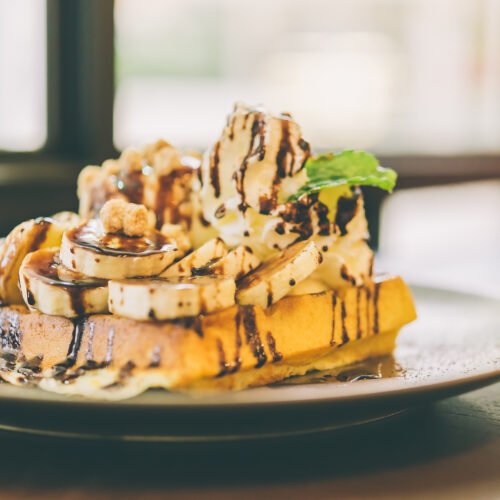
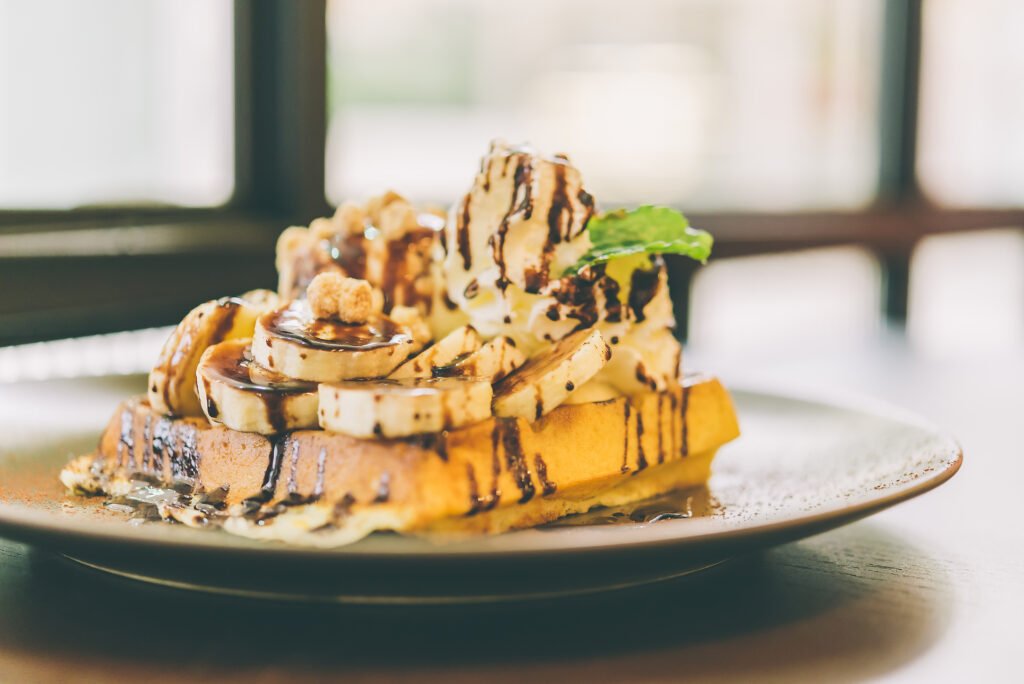
Banana Split Bars
Ingredients
- For the crust:
- 1 ½ cups all-purpose flour you can swap this for gluten-free flour if needed!
- ½ cup powdered sugar
- 1/2 cup unsalted butter softened
- 1/4 teaspoon salt
- For the filling:
- 2 ripe bananas mashed
- 1/2 cup heavy whipping cream
- 1/4 cup granulated sugar
- 1 teaspoon vanilla extract
- 1/2 cup chopped nuts walnuts or pecans work great
- For the topping:
- 1 cup chocolate chips
- 1 tablespoon coconut oil
- 1/2 cup maraschino cherries for decoration!
- Sprinkles because why not?
Instructions
- Preheat your oven: First things first, let’s get our oven warmed up! Preheat it to 350°F (175°C). You want it nice and toasty for our crust!
- Mix the crust ingredients: In a medium bowl, combine your flour, powdered sugar, softened butter, and salt. Mix until it forms a crumbly dough. Don’t worry if it looks a little crumbly; that’s how it’s supposed to be!
- Press it into the pan: Grab an 8x8 inch baking pan (or a similar size) and press the crust mixture down firmly and evenly. You want it to be nice and compact. Bake this crust in your preheated oven for about 15 minutes, or until it’s a lovely golden brown.
- Prepare the filling: While the crust is baking, let’s create that yummy filling! In a bowl, mash up those ripe bananas until they’re nice and smooth. Then add in the heavy whipping cream, granulated sugar, vanilla extract, and chopped nuts. Give it a good mix until everything is well combined! It’s gonna smell heavenly in your kitchen!
- Assemble the layers: Once your crust is out of the oven and cooled for a bit, pour the banana filling on top. Spread it out evenly with a spatula. Pop it back in the oven for another 15 minutes to let everything cook together!
- Melt the topping: While you wait for the filling to bake, let’s whip up that chocoholic’s delight! In a microwave-safe bowl, combine the chocolate chips and coconut oil. Microwave in 30-second intervals, stirring between each, until the chocolate is melted and smooth. This will make your topping super glossy!
- Top it off: After the bars come out from their final bake, pour that melted chocolate over the top, spreading it gently to cover everything. Add your maraschino cherries and sprinkles on top for that extra fun flair!
- Let it cool: This is the hardest part—waiting! Allow the bars to cool completely in the pan at room temperature. Once cool, pop them in the fridge for about 1 hour, to set everything nicely.
- Slice and serve: After everything’s cool and set, it’s time for the best part. Slice these bars into delightful squares and serve them up! Trust me, the first bite will have everyone asking for another!
Nutritional Information
| Nutrient | Amount per Serving |
|---|---|
| Calories | 220 |
| Fat | 12g |
| Carbohydrates | 28g |
| Protein | 2g |
| Sugar | 14g |
5 Tips for This Recipe
- Use ripe bananas! The riper, the better in terms of flavor!
- Don’t rush the cooling time. Allow it to cool completely for the best texture.
- Mix well! Ensuring your filling ingredients are well combined will give you a creamy texture.
- Play with toppings! Feel free to add crushed pineapple or shredded coconut for a twist!
- Invest in a good quality chocolate! It makes a big difference when melting!
5 FAQs for This Recipe
- Can I make this gluten-free? Absolutely! Use gluten-free flour, and you’re good to go!
- How long will these bars last? Stored in an airtight container, they’ll last about a week in the fridge.
- Can I freeze these bars? Yes! They freeze well. Just wrap them tightly to avoid freezer burn.
- What can I substitute for heavy cream? You can use coconut cream for a non-dairy option!
- Can I add more chocolate? Of course! Drizzle some chocolate sauce or add chocolate chips to the filling!
5 Storage Tips
- Let them cool completely before storing; this prevents sogginess.
- Use airtight containers to keep them fresh in the fridge.
- Label your containers with the date to track freshness.
- Store in layers with parchment paper between them if stacking!
- Check for signs of spoilage before consuming after a few days!
5 Common Cooking Mistakes
- Overmixing the crust can make it tough—just mix until combined!
- Not letting it cool enough before cutting can mess up the texture!
- Skipping the refrigerating step leads to gooey bottoms!
- Not mashing bananas enough could leave lumps in your filling!
- Using cold butter instead of softened could make it hard to mix the crust!
Final Thoughts
So there you have it! Our delightful journey into the world of Banana Split Bars is complete, and trust me, it was well worth every step. These bars are not just a fantastic dessert; they bring the fun of a classic banana split right to your hands.
Whether you’re hosting a party or just looking to satisfy a sweet tooth, these bars are sure to impress. I can already see us gathered around a table, laughing, and digging into these delicious treats!
So, grab your ingredients, get baking, and let your creative side shine! We can’t wait for you to experience the joy of these chewy, creamy, and chocolatey bars. Happy baking, friends!