So, let me share my adventure of making these Yogurt Waffles! The first time I made them, I was nervous—wafels can be finicky, right? But wow, they turned out amazing! They were fluffy, light, and dreamy. One tiny surprise was how brown they got quickly, but I adjusted my heat a bit. Next time, I’ll watch them closer, but overall, I nailed it!
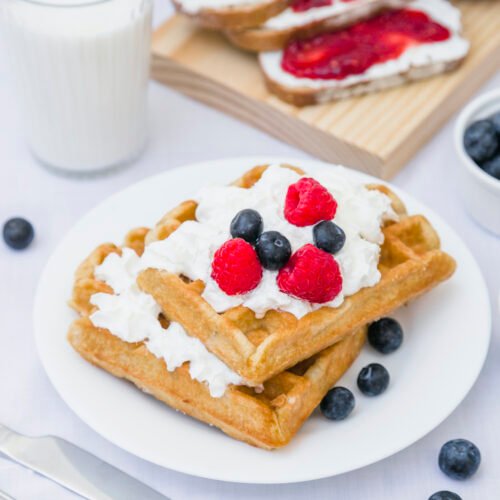
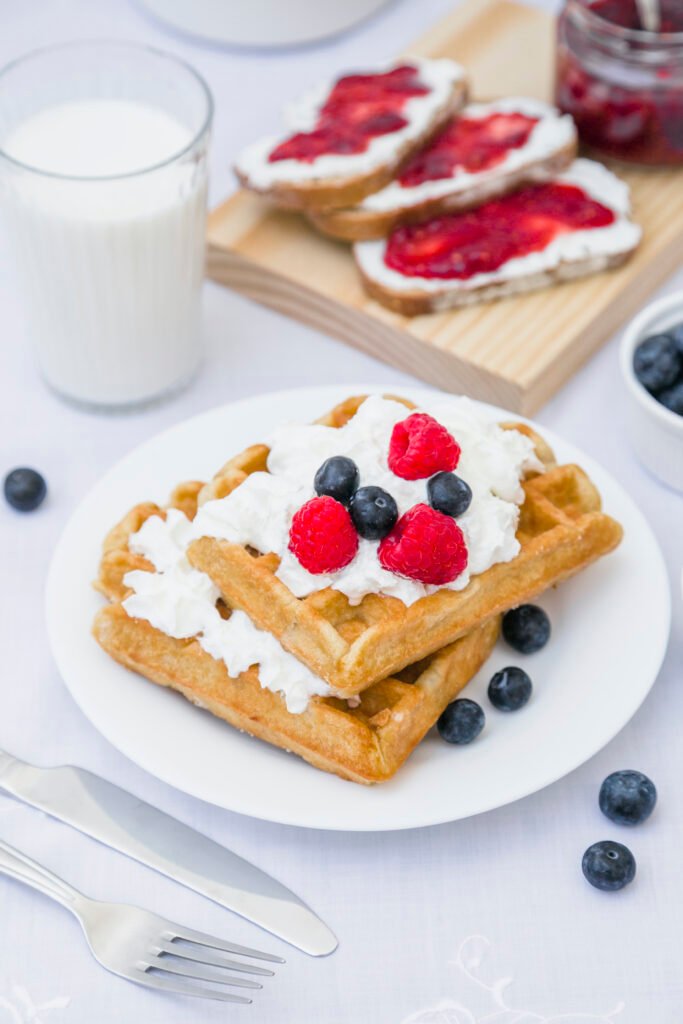
Yogurt Waffles
Ever thought breakfast could be a fluffy delight? Well, these Yogurt Waffles are a game-changer! They’re light, tasty, and packed with protein, making them the perfect way to kickstart your day. Trust me, they’re super easy to whip up, and you’ll feel like a breakfast champ in no time!
Ingredients
- 1 cup all-purpose flour or use whole wheat flour for a healthier option
- 1 tablespoon baking powder
- 1/2 teaspoon baking soda
- 1/4 teaspoon salt
- 1 cup plain yogurt Greek yogurt works wonders too
- 2 eggs
- 2 tablespoons honey or sugar if you're not feeling too sweet, you can reduce this
- 2 tablespoons melted butter or oil coconut oil adds a fun flavor
- 1 teaspoon vanilla extract optional, but it makes everything better!
Instructions
- Preheat the Waffle Maker: First things first—fire up that waffle iron! Bring it to medium heat. If it has a setting, choose the golden brown option!
- Mix the Dry Ingredients: In a big bowl, whisk together the flour, baking powder, baking soda, and salt. Make sure they’re well blended. It’s like giving them a mini party in there!
- Combine the Wet Ingredients: In another bowl, mix the yogurt, eggs, honey (or sugar), melted butter, and vanilla extract. Stir it up until it's creamy and mixed well. Go ahead, use some muscle!
- Mix Them Together: Now, pour the wet mixture into the dry ingredients. Gently fold them together until just combined—don’t overmix! We’re not building a pancake batter here!
- Start Cooking: Once your waffle maker's hot, pour an appropriate amount of batter in (usually about 1/2 to 3/4 cup, but check your machine's instructions). Close it up, and let it do its thing!
- Check for Doneness: Cook according to your waffle maker's instructions, usually around 3 to 5 minutes. They're ready when the steam stops, and they’re golden brown.
- Serve and Enjoy: Remove the waffles and place them on a warm plate. Serve with your favorite toppings like fresh fruits, syrup, or a dollop of yogurt. Yay, breakfast time!
Nutrition Facts
| Serving Size | Calories | Protein | Carbs | Fats |
|---|---|---|---|---|
| 1 Waffle | 180 | 7g | 25g | 6g |
5 Tips for This Recipe
- Keep your waffle iron seriously hot – it helps with fluffiness!
- Don’t overmix your batter; it’s all about leaving those little lumps!
- If your waffles stick, try greasing the waffle maker with a little more butter.
- Make a double batch and freeze extras for busy mornings!
- Top with yogurt, fruit, or nuts for added yumminess!
5 FAQs for This Recipe
- Can I use flavored yogurt? Yes, go for it! Just adjust the sweetness!
- Can I skip the eggs? Definitely! Replace them with 1/4 cup of unsweetened applesauce.
- How can I make them gluten-free? Use a gluten-free flour blend!
- Can I use something other than yogurt? Sure! Buttermilk or cottage cheese works too!
- How do I store leftovers? Keep them in an airtight container in the fridge!
5 Storage Tips
- Freeze extra waffles by placing parchment paper between layers to avoid sticking.
- Store in an airtight container in the fridge for up to 3 days.
- Reheat in the toaster for a crispy finish!
- Avoid putting warm waffles in a container; let them cool first!
- Label your containers with dates to keep track of freshness!
5 Common Cooking Mistakes
- Not preheating the waffle maker – don’t skip this step!
- Overmixing the batter, which makes dense waffles.
- Not using enough batter; fill the waffle iron as directed.
- Checking them too soon; let the steam do the work!
- Skipping the toppings; make them pretty with fruits or syrup!
Final Thoughts
Making these Yogurt Waffles was a delightful experience! I’m thrilled with how they turned out, and I hope you will be too. They’re easy, nutritious, and oh-so-fluffy! Whether you’re making them for yourself or the whole family, they’re sure to bring smiles around the breakfast table. So grab your ingredients, and let’s make mornings fun! Enjoy every bite!