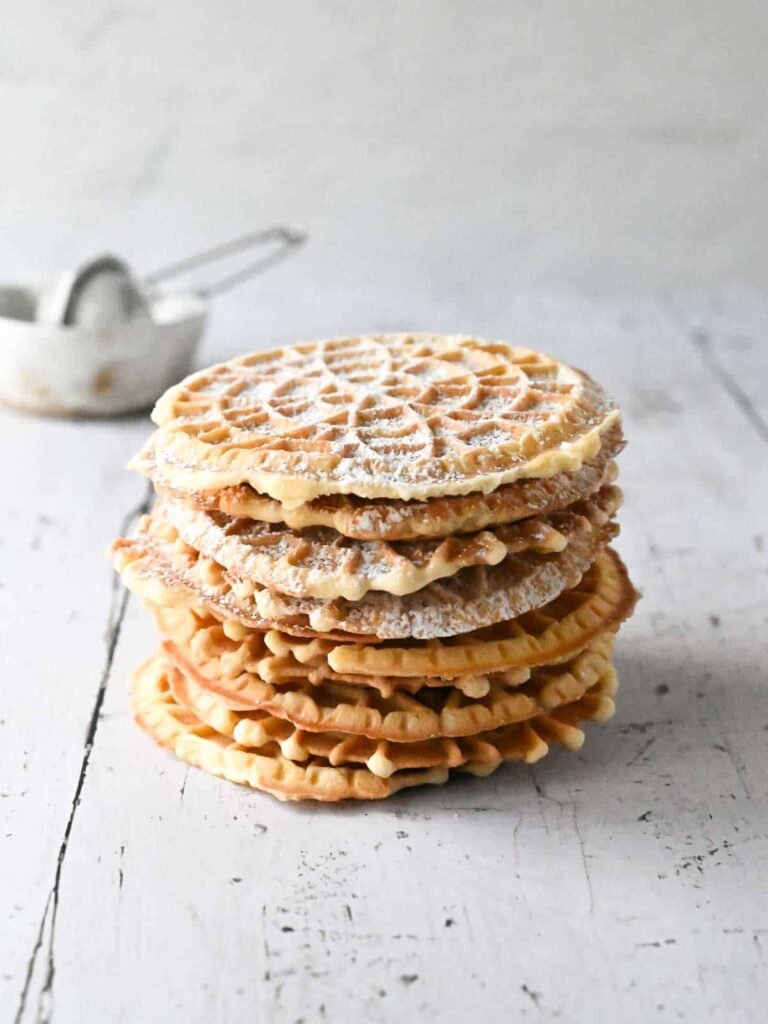
You bet I was a bit apprehensive when I first took on pizzelle cookies! Who knew these delicate treats could come with a side of intimidation? I was pleasantly surprised that they came out pretty well on my first try! The crispiness was spot on, but I thought they could use a hint more flavor. After some tweaking—add a bit more vanilla and a touch of salt—they ballerina danced their way into my heart (and stomach).
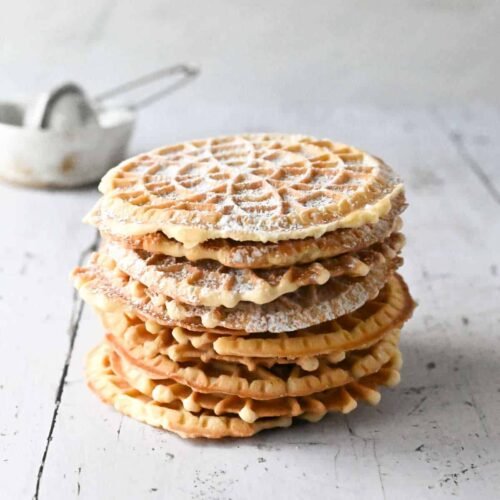
Pizzelle Cookies
Ingredients
- 3 large eggs
- 3/4 cup of granulated sugar
- 1 teaspoon vanilla extract or anise extract for a twist!
- 1/2 cup unsalted butter melted
- 2 cups all-purpose flour
- 1 teaspoon baking powder
- 1/4 teaspoon salt
- *Substitutions: You could use coconut oil instead of butter for a non-dairy version or swap the flour for gluten-free flour if needed.*
Instructions
- Preheat Your Iron: Plug in your pizzelle iron and let it preheat—keep an eye on it; we want those cookies to be nice and crispy!
- Whisk Away: In a large bowl, whisk together the eggs and sugar until it’s all light and fluffy. Feel free to give it a good beat to get lots of air in there!
- Add Those Flavors: Pour in the melted butter and stir in the vanilla extract or anise extract. If you want to try the anise, just know it adds an uniquely delightful twist!
- Sift It Up: In another bowl, mix the flour, baking powder, and salt. Slowly blend the dry ingredients into the wet ingredients. Don’t rush this; we want a nice batter consistency!
- Make the Cookies: Once the batter is ready, using a tablespoon or a small cookie scoop, drop the batter onto the preheated pizzelle iron. Close the lid and let it cook for about 30 seconds (timing might vary, so watch for a golden brown color!).
- Cool Down: Once done, use a fork or a spatula to gently remove the pizzelle cookies and place them onto a wire rack to cool. Easy peasy!
Nutrition Facts
| Calories | Fat | Carbohydrates | Protein |
|---|---|---|---|
| 70 | 3g | 10g | 1g |
5 Tips for This Recipe
- Make sure your pizzelle iron is properly preheated for the best results!
- Don’t overcrowd your batter on the iron—leave space for the cookies to spread!
- Experiment with different extracts like orange or lemon for a zesty flavor kick!
- Be patient when cooling—they’re better when they’re crisp and set!
- If you have leftover batter, store it in the fridge for a day or two for a quick batch later!
5 FAQs for This Recipe
- Can I freeze pizzelle cookies? Absolutely! Just make sure they’re in an airtight container or bag.
- Can I use gluten-free flour? Yes! Just swap it out for your favorite gluten-free all-purpose blend.
- What’s the best way to store them? Store them in an airtight container at room temperature.
- Can I double the recipe? You sure can! Just make sure you check the consistency as you add ingredients.
- Why are my pizzelles chewy? They may need a bit more time to crisp up, or be stored improperly.
5 Storage Tips
- Keep pizzelle cookies in a cool, dry place.
- Use a cookie tin to keep them fresh longer.
- Layer cookies with parchment paper to prevent sticking.
- Don’t store them near moisture!
- Wrap any uneaten pizzelle in plastic wrap before placing in a container.
5 Common Cooking Mistakes
- Not preheating the pizzelle iron adequately.
- Using too much batter on the iron.
- Skipping the cooling step.
- Overmixing the batter!
- Not using enough flavoring ingredients (don’t skimp on the vanilla!).
Final Thoughts
Pizzelle cookies are a delightful little treat that brings a taste of Italy right into our kitchens. From the quick blend of simple ingredients to the delightful smell wafting through the air, making these cookies is a joy. I love how versatile they are—changing the flavor or even topping them with powdered sugar can give them a different twist each time!
It’s also such a fun activity to do with friends or family. The fact that they’re a bit of a labor of love makes you appreciate them even more when they come out perfectly crisp and flavorful. Trust me, once you try making pizzelle, you’ll be hooked!
So, roll up your sleeves and give this recipe a try. I promise you’ll have a baking story to tell and, of course, a batch of delicious cookies to munch on. Happy baking, friends!